Thursday, August 2, 2018

Star Gazing


Today is the start of a new challenge at Stamps and Stencils and this time I am the hostess.  I am calling this one Industrial/Grungy and here is how I describe it:

Create a mixed media project with some stamping and/or stenciling that puts off a very industrial and grungy vibe - be sure to include lots of metal and texture.

I decided to take some inspiration from Seth Apter and create this grungy canvas that I am calling Star Gazing.

Here is how to put it together:


Background

  • Coat a 6" x 8" canvas board with White Gesso (Liquitex).
  • Use Molding Paste (Golden) through Spatter stencil (Tim Holtz) to add texture in random areas.
  • Brush on layers of Slate Blue and Porcelain Blue Acyrlic Paint (Folk Art) alternating between light and dark colours and wiping off with a baby wipe where needed.
  • Lightly sponge on a bit of Antique Gold Acrylic Paint (DecoArt).
  • Spray with Brushed Pewter Distress Spray Stain (Tim Holtz).
  • Use the Tiny Circles and Mini Geometric Art Layers stencils (TCW) to make marks with Liberty Blue Acrylic Paint (Accent), Silver Gray and Stormy Gray Acrylic Paint (Craftsmart) and Dove Gray Acrylic Paint (Folk Art).
  • Stamp the star from the Faded Fragments set (Seth Apter) in three areas using Jet Black Archival Ink (Ranger).

Stars Panel

  • Tear a piece of heavy card stock.
  • Add some stenciling with Molding Paste )Golden) through a Broken Stars stencil (Folk Art).
  • Paint panel with Gunmetal Gray Metallic Acryllic Paint (Folk Art).
  • Rub Treasure Pewter Wax Pate (Connoisseur Studio) over stars.


Focal Image

  • Die cut large drip circle from Drip Dry set (Seth Apter).
  • Coat with Course Pumice Gel (Golden).
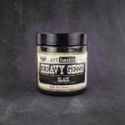
  • Cover with Black Gesso (Prima Art Basics).
  • Use Framelit Circles (Sizzix) to cut a circle and a round frame.
  • Paint circle with Porcelain Blue Acrylic Paint (Folk Art) and then dry brush with Slate Blue Acrylic Paint (Folk Art) leaving streaks.
  • Use Jet Black Archival Ink (Ranger) to stamp eye from Random Thoughts set (Tim Holtz) on the circle.
  • Paint frame with Porcelain Blue Acrylic Paint (Folk Art).
  • Add dots with black Micron pens (Sakura).
  • Coat the frame with Clear Rock Candy Distress Crackle (Tim Holtz).


Metal Stars

  • Cover heavy card stock with metal foil tape (hardware store).
  • Hand cut various sizes of stars.
  • Emboss stars with Bubble Embossing Folder (Tim Holtz).
  • Paint stars with Pure Black Acrylic Paint (Folk Art) and then wipe the paint off leaving some paint in the debossed areas.

To assemble

  • Adhere the stars panel using foam tape.
  • Add the drippy circle followed by the frame.
  • Add the circle with foam tape.
  • Glue on the metal stars.

There you have it - my more grungy than industrial offering.  There are a few steps but it wasn't difficult and I love the end result.

I hope you will join me for this challenge.  It runs until September 5th at 20:00 pm UK time.

Wednesday, August 1, 2018

Flower Box on Marble


It is time for the new challenge at Frilly and Funkie.  Suzz, who is the hostess for this one calls it August and describes it this way:
The current challenge is inspired by the month of August. In doing a little online research I learned that the month of August was re-named for Augustus Caesar. He was the first Roman Emperor and was very proud of the influence he had on the architecture of the country. For this challenge I am asking you to be inspired by marble, arches or columns. You will need to create a vintage or shabby chic project using some type of marble effect, arches or columns.
I have created a card that could be used for many occasions, which is why I have not included a sentiment. Here are the steps used to put it together:
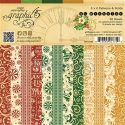
  • Scored a piece of card stock or heavy paper on the back side every half inch. I used a dark gold toned paper from the St. Nicholas paper pad (Graphic 45). 
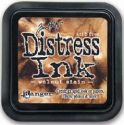
  • On the right (front) side of the scored used a Walnut Stain Distress Ink pad held at a slight angle and inked straight down the length of the panel. 
  • Turned the panel upside down and repeated the inking to create a wood fence look.
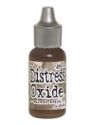
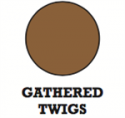
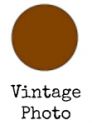
  • Sprayed shaving foam (not gel) on a tray and added drops of Walnut Stain, Gathered Twigs and Vintage Photo Oxide Reinker (Tim Holtz) randomly on the shaving foam.
  • Used a wooden skewer to drag the ink to create a marbled look.
  • Laid a piece of heavy card stock over the inked shaving foam and rubbed it lightly with the palm of my hand.
  • Lifted the card stock off the shaving foam by one corner and scraped off the shaving foam that is attached.
  • Once dry, sponged three applications of White Gesso (Dina Wakely) over the marbled panel in a pouncing motion to lighten the colours being careful not to drag the sponge.
  • Cut an arch shape on the top and then inked the edges with Vintage Photo Distress Ink (Tim Holtz).

  • Made the window box by cutting some card stock and folding the sides and bottom to the back.  At this point I intended to use my Finnabair Rust Paste but it had hardened up again.  The last time this happened I put a few drops of water in it and put it in the microwave for a few seconds and it softened it up enough to use but this time it defied me so on to plan B.
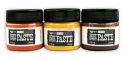
  • Mixed some of the Brown Rust Paste in Heavy Black Gesso to create a black grit paste and coated the window box with this mixture.  I am determined not to waste that much product.
  • Dry brushed some Melted Chocolate and Squeezed Orange Paint (Dylusions) randomly on the window box until a rust effect was achieved.
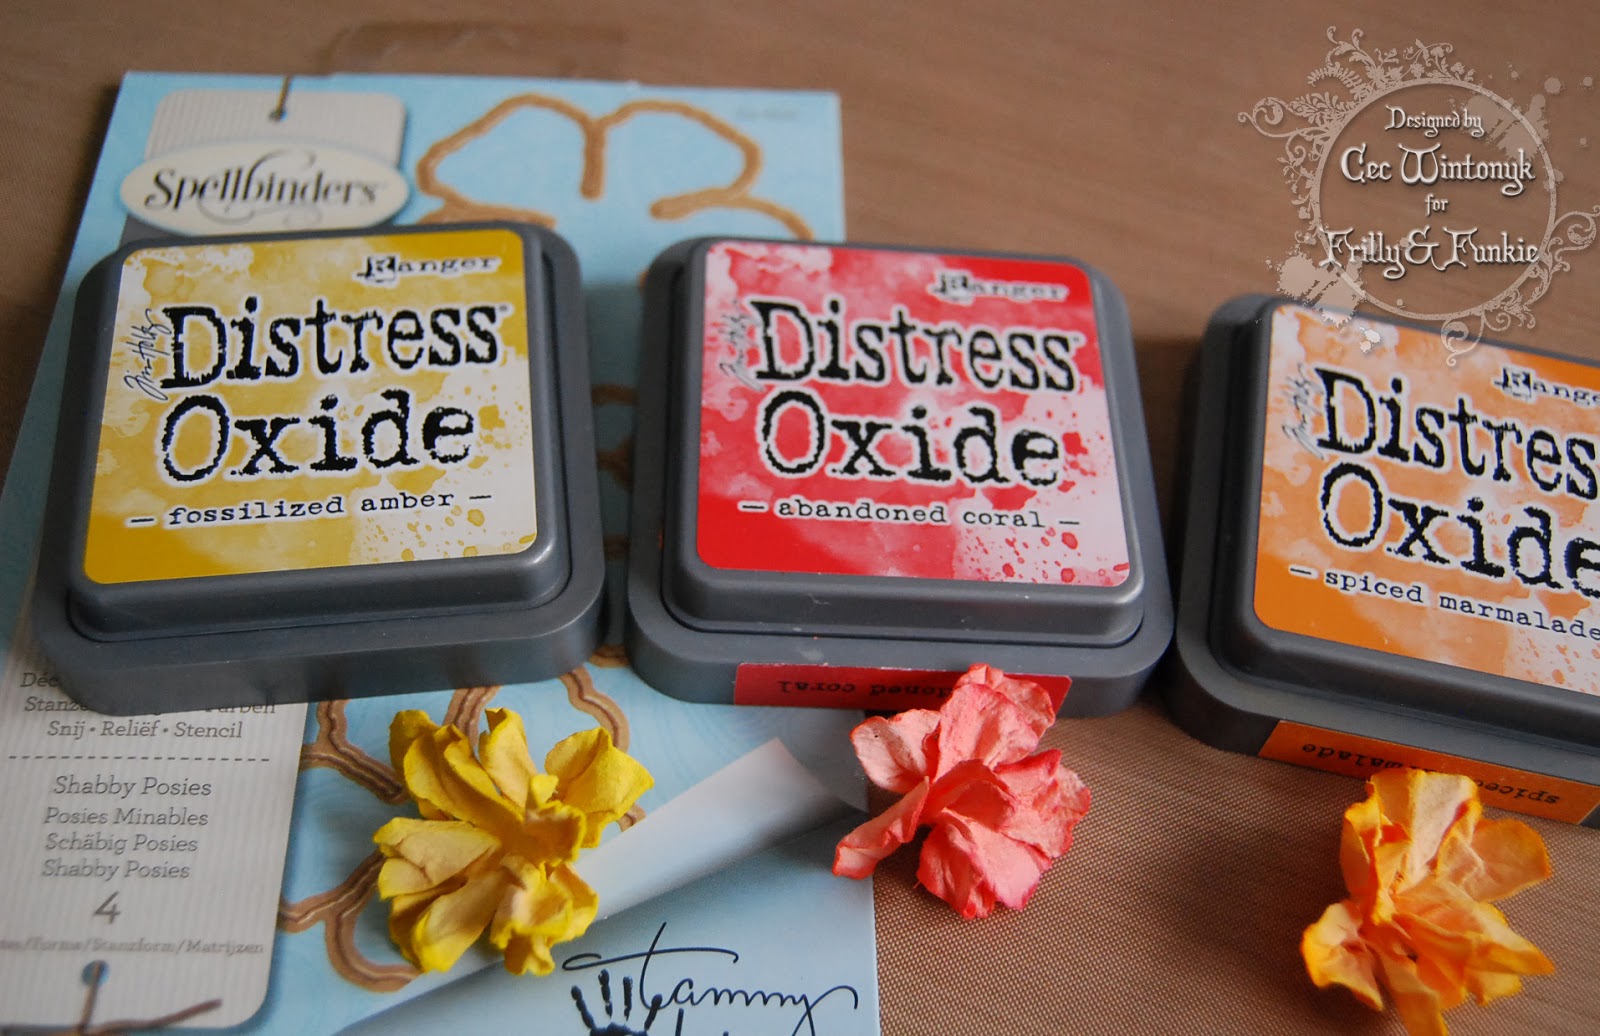
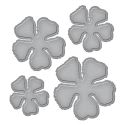
  • Die cut three sets of flower petals from Mulberry Paper using the Shabby Posies die (Tammy Tutterow).
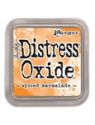
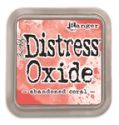
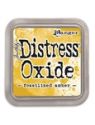
  • Dyed pairs of the petals with Fossilized Amber, Abandoned Coral and Spiced Marmalade Distress Oxides (Tim Holtz).
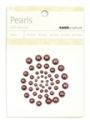
  • After petals were shaped, layered them and added a brown pearl (Kaisercraft) to each centre.
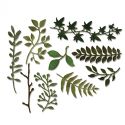
  • Cut a variety of leaves and vines from two shades of green paper from the St. Nicholas pad (Graphic 45)
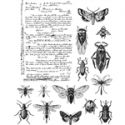
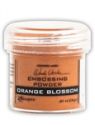
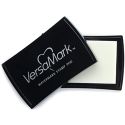
  • Stamped a small butterfly from the Entomology set (Tim Holtz) using Versamark (Tsukineko) and then embossed with Orange Blossom Embossing Powder (Wendy Vecchi).
To assemble:
  • Adhered the wood panel to a card stock blank and then added the marble panel followed by the window box.
  • Glued most of the vines and leaves on the window box.
  • Added the flowers I made along with some roses (my stash) and some little Wild and Free flowers (Prima - discontinued).
  • Tucked a few more leaves among the flowers.
  • Added the butterfly.
This challenge will run for the next two weeks so I hope you will share a project with us before it ends at 11:55 pm EST on August 14th.  One randomly chosen winner will receive a gift certificate to The Funkie Junkie Boutique and the Design Team will choose their top picks with the overall winner receiving an invitation to be a Guest Designer.

The following products used to create this card came from The Funkie Junkie Boutique:

Wednesday, July 18, 2018

Vintage Travel


The new challenge starts today at Frilly and Funkie and it is called Planes, Trains and Automobiles.  The lovely Kathy is our hostess and she describes it this way:

Summer is a great time to travel. For this challenge, create a vintage or shabby chic travel themed project. Think folded maps, cruise ships, road signs, compasses, passports, trains, planes or automobiles. As long as your project features a travel theme, you're headed in the right direction.

I have been admiring the tall and skinny cards that my team mate Jenny has been making lately and thought I would give one a try. She makes them look so easy but I took a while to come up with a design that I liked and that was flat enough to mail without having to rob a bank to pay for the postage.

I started with some cream card stock (Staples) for the blank and then added a panel of rusty red card stock (Bazzill), which was distressed and inked on the edges with Vintage Photo Distress Ink (Tim Holtz).  Pretty well everything on the card was distressed and inked in the same manner.


Next I took another piece of cream card stock and inked it all over with Aged Mahogany, Frayed Burlap and Vintage Photo Distress Oxide (Tim Holtz).  This time I spread them on using a very wet paint brush adding a colour at a time in random areas and then drying with a heat tool (Tim Holtz) before I added the next colour.


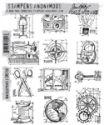
Once the panel was dry I added some stamping using Vintage Photo Distress Ink (Tim Holtz) and one of the Travel Mini Blueprint Stamps (Tim Holtz).


A panel of rust card stock (Recollections) came next.  It was embossed using a Gears embossing folder (Tim Holtz) and then the highlights were rubbed with Rich Copper Metallique Wax (Prima).

I cut a chevron from Memoranda paper (Tim Holtz) and added that next followed by a half circle of some map paper from the same paper pad.

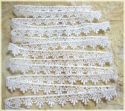
Some venise lace was dyed with Vintage Photo Distress Ink and added to a smaller chevron cut from the Memoranda paper before the chevron was added to the card.

I used Versamark Embossing Ink and a pocket watch stamp (IndigoBlu) to stamp onto some acetate and then it was embossed with Copper Embossing Powder (Ranger).  I fussy cut the watch and added it next.

The lovely lady is from the Paper Dolls (Tim Holtz) and has been inked with Vintage Photo DI as were the clip art suitcase and the Small Talk Sticker (Tim Holtz).  A bit of Black Soot DI was added to the suitcase straps using a water brush (Tim Holtz)


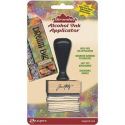
Finally I altered an arrow (Tim Holtz) by coating it with a blend of Terra Cotta and Copper Mixative Alcohol Ink (Tim Holtz).

These products for my vintage card came from The Funkie Junkie Boutique: