Showing posts with label flowers. Show all posts

Wednesday, August 29, 2018

Haberdashery


It is time for a new challenge at Frilly and Funkie.  This time Zoe is our hostess and she is calling it Haberdashery.  Here is what she has to say about it:

A haberdasher is a person who sells small articles for sewing, such as buttons, ribbons and zippers. For this challenge create a vintage or shabby chic project including items found at a Haberdashery.

When I saw Zoe's description, it kind of threw me because I always thought a haberdasher sold men's clothing. Well, it turns out we are both right. In North America men go to a haberdasher to buy their clothing although a true haberdashery is a stand-alone store and there are not too many of those around anymore.

In Britain the haberdashery sells the items Zoe describes and we call those items notions in North America and they are normally found in a store selling fabrics.  Since I sew once in a while, I have a cupboard full of the items sold by a haberdasher and made my card from that stash.  I also used some old and some discontinued crafting stash since I am on a mission to get some space back in my studio or I won't have room to buy new supplies - the method to my madness.  Here are the steps to create my card.

1.  Cut a large panel of paper from the Love Story paper pad (Prima) and distress the edges.
2.  Cut a smaller piece of paper from the Love Story pad and distress the edges.
3.  Tear a "v" shape in the smaller panel to accommodate a zipper.
4.  Attach the zipper pull (Prima - discontinued) to two lengths of zipper and adhere to "v" opening.  Note:  I took the stitching out of some ruffled zipper ribbon (Melissa Frances discontinued) and cut two lengths to create my zipper).
5.  Using the Shabby Posies die (Tammy Tutterow) cut three petals from the Love Story paper.  Shape and layer the petals to create a flower and add a paper rose (Wild Orchid Crafts) to the centre.
6.  Using the Garden Greens die (Tim Holtz) cut some leaves from white card stock.
7.  Using a freebie graphic from Astrid Maclean as a template cut a ribbon holder from some paper from the Vintage Emporium pad (Prima).
8.  Wrap some dyed seam binding around the ribbon holder.  Note:  The seam binding came from The Funkie Junkie Boutique wrapped around some lace and was already dyed (I am guessing with Spun Sugar and Vintage Photo Distress Ink from Tim Holtz) but you could dye your own and I will link those products below.
9.  Thread a length of the dyed seam binding through some lace.
10.  Alter a metal scissors charm with Snow Cap Mixative Alcohol Ink (Tim Holtz) and sand a bit off to make it look even more worn.
11.  Use a skin-toned alcohol marker to cover a floral button and then when it is really dry use an alcohol wipe and carefully remove some of the marker and some of the flowers to make it look aged.

To Assemble:

1.  Adhere the large paper panel to the card blank.
2.  Add some tulle behind the "v" opening and then adhere the smaller paper panel on top of the large panel.
3.  Add the lace panel to the bottom of the card.
4.  Glue the large flower and a number of other paper flowers along with the leaves to create a bouquet on the right side of the card.
5.  Using gel medium, add a resin dress form (Prima - discontinued) and the remaining embellishments on the left side of the card.

Some Close-ups:


I hope you will join us for this challenge. One randomly chosen winner will receive a gift certificate to go shopping at The Funkie Junkie Boutique and the Design Team will choose their top picks with the overall winner receiving an invitation to be a Guest Designer at a future date.


Wednesday, August 1, 2018

Flower Box on Marble


It is time for the new challenge at Frilly and Funkie.  Suzz, who is the hostess for this one calls it August and describes it this way:

The current challenge is inspired by the month of August. In doing a little online research I learned that the month of August was re-named for Augustus Caesar. He was the first Roman Emperor and was very proud of the influence he had on the architecture of the country. For this challenge I am asking you to be inspired by marble, arches or columns. You will need to create a vintage or shabby chic project using some type of marble effect, arches or columns.

I have created a card that could be used for many occasions, which is why I have not included a sentiment. Here are the steps used to put it together:
  • Scored a piece of card stock or heavy paper on the back side every half inch. I used a dark gold toned paper from the St. Nicholas paper pad (Graphic 45). 
  • On the right (front) side of the scored used a Walnut Stain Distress Ink pad held at a slight angle and inked straight down the length of the panel. 
  • Turned the panel upside down and repeated the inking to create a wood fence look.
  • Sprayed shaving foam (not gel) on a tray and added drops of Walnut Stain, Gathered Twigs and Vintage Photo Oxide Reinker (Tim Holtz) randomly on the shaving foam.
  • Used a wooden skewer to drag the ink to create a marbled look.
  • Laid a piece of heavy card stock over the inked shaving foam and rubbed it lightly with the palm of my hand.
  • Lifted the card stock off the shaving foam by one corner and scraped off the shaving foam that is attached.
  • Once dry, sponged three applications of White Gesso (Dina Wakely) over the marbled panel in a pouncing motion to lighten the colours being careful not to drag the sponge.
  • Cut an arch shape on the top and then inked the edges with Vintage Photo Distress Ink (Tim Holtz).

  • Made the window box by cutting some card stock and folding the sides and bottom to the back.  At this point I intended to use my Finnabair Rust Paste but it had hardened up again.  The last time this happened I put a few drops of water in it and put it in the microwave for a few seconds and it softened it up enough to use but this time it defied me so on to plan B.
  • Mixed some of the Brown Rust Paste in Heavy Black Gesso to create a black grit paste and coated the window box with this mixture.  I am determined not to waste that much product.
  • Dry brushed some Melted Chocolate and Squeezed Orange Paint (Dylusions) randomly on the window box until a rust effect was achieved.
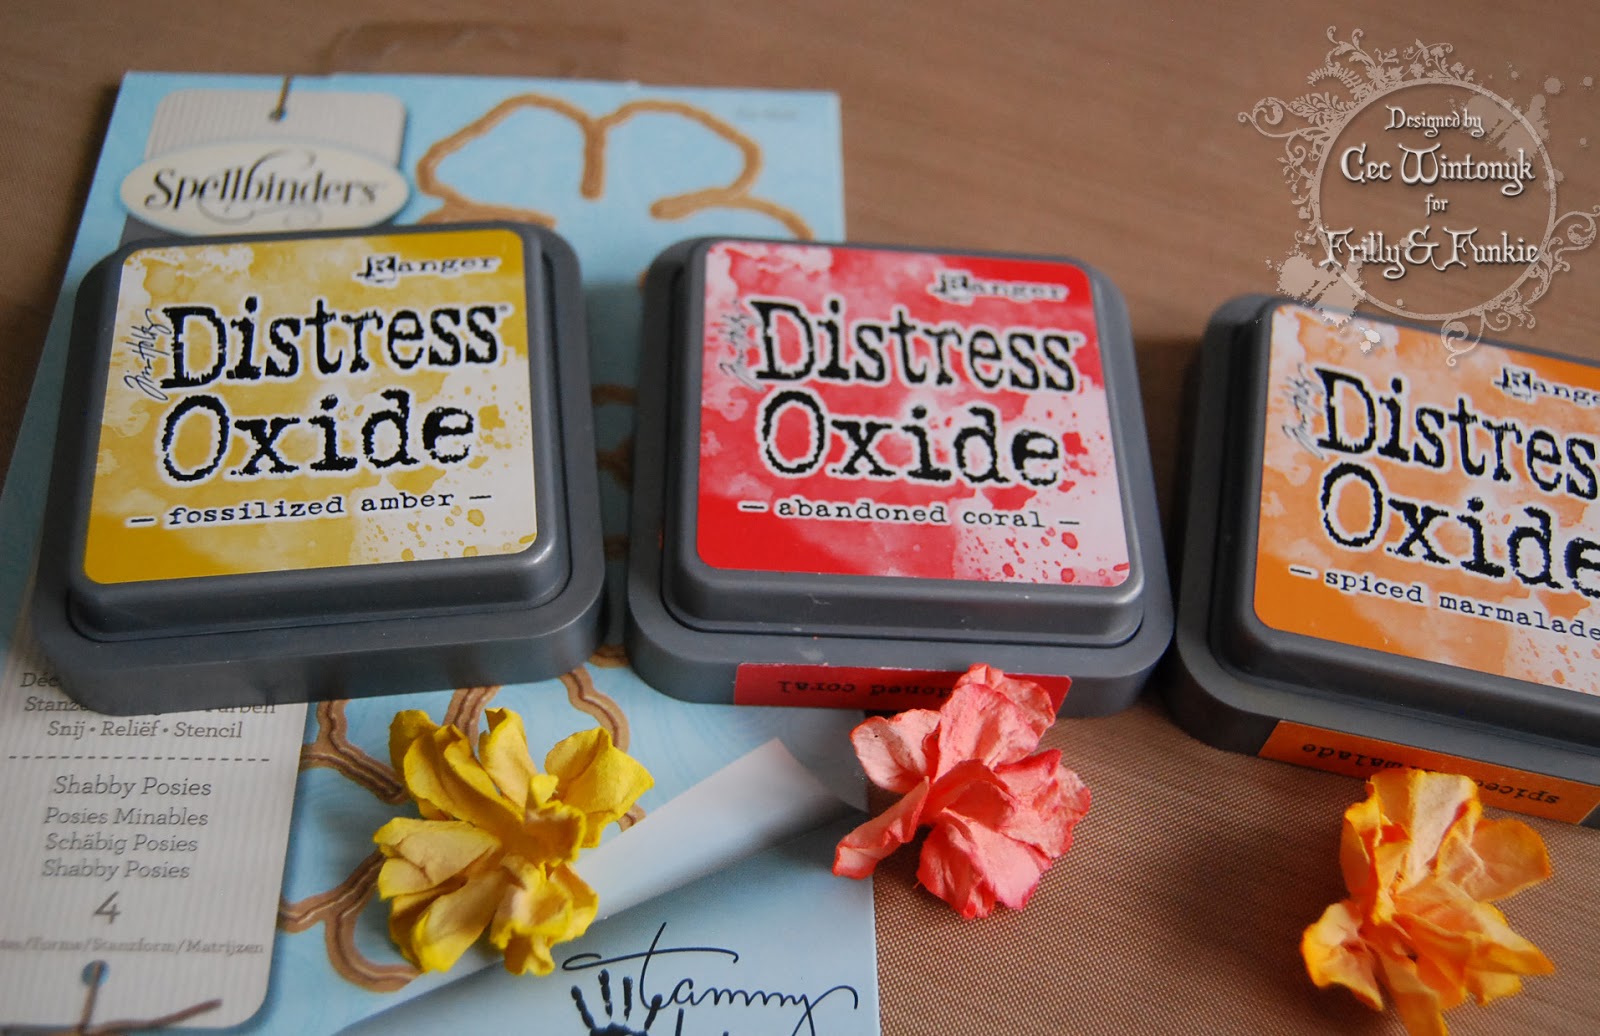
  • Die cut three sets of flower petals from Mulberry Paper using the Shabby Posies die (Tammy Tutterow).
  • Dyed pairs of the petals with Fossilized Amber, Abandoned Coral and Spiced Marmalade Distress Oxides (Tim Holtz).
  • After petals were shaped, layered them and added a brown pearl (Kaisercraft) to each centre.
  • Cut a variety of leaves and vines from two shades of green paper from the St. Nicholas pad (Graphic 45)
  • Stamped a small butterfly from the Entomology set (Tim Holtz) using Versamark (Tsukineko) and then embossed with Orange Blossom Embossing Powder (Wendy Vecchi).
To assemble:
  • Adhered the wood panel to a card stock blank and then added the marble panel followed by the window box.
  • Glued most of the vines and leaves on the window box.
  • Added the flowers I made along with some roses (my stash) and some little Wild and Free flowers (Prima - discontinued).
  • Tucked a few more leaves among the flowers.
  • Added the butterfly.
This challenge will run for the next two weeks so I hope you will share a project with us before it ends at 11:55 pm EST on August 14th.  One randomly chosen winner will receive a gift certificate to The Funkie Junkie Boutique and the Design Team will choose their top picks with the overall winner receiving an invitation to be a Guest Designer.

The following products used to create this card came from The Funkie Junkie Boutique: