Wednesday, September 30, 2020

Fall Foliage


It is time for the next challenge at The Funkie Junkie Boutique Blog and Jenny is our hostess for this one. She is calling it Fall Foliage and here is how she describes it:

According to most search engines the Fall season has officially begun so we should be starting to see the emergence of all those beautiful Autumnal colours, unless Mother Nature throws us a curve ball! Let's celebrate them anyway by creating a vintage or shabby chic project in traditional Fall shades that includes some form of foliage like leaves, berries and so on

I just received a fabulous sketched flower stamp set by Dina Wakley called Always Flowers and that became my inspiration for this card.


I started by covering a panel of card stock with some Melange Tissue Wrap and then I distressed the edges.


After carefully adding the lovely tissue wrap, I proceeded to cover most of it with some Texture Paste - lol.


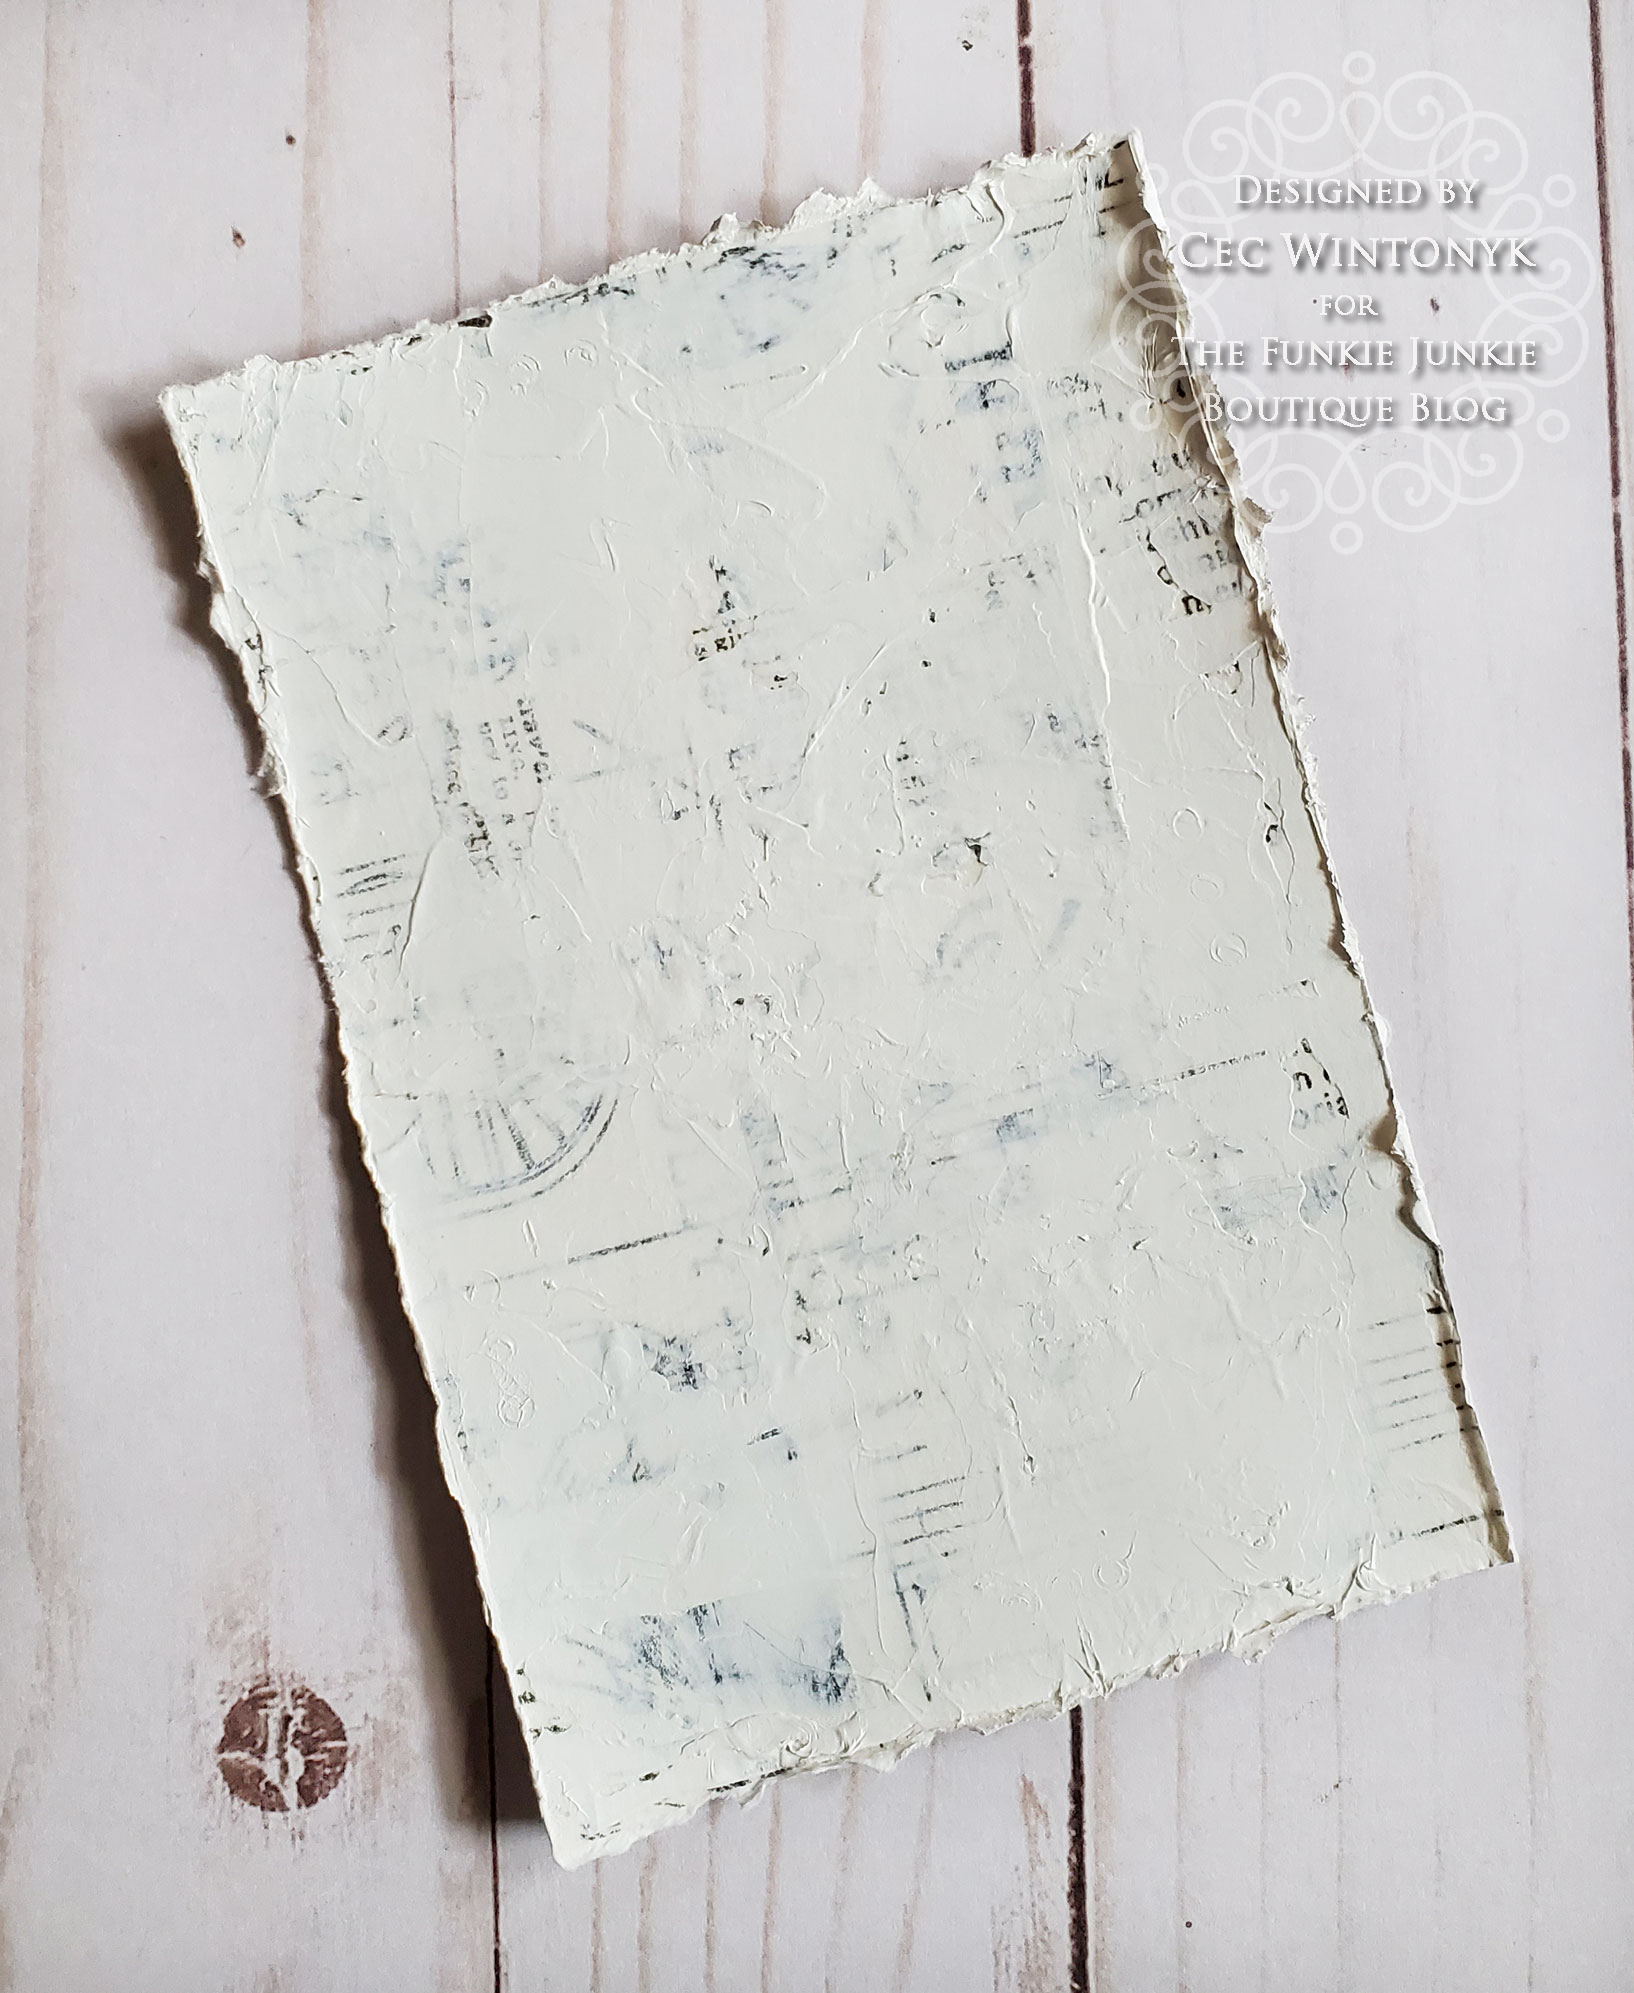
I forgot to take photos along the way when I altered the textured panel but the steps I took were:

1. Patted some Wild Honey, Vintage Photo and Gathered Twigs Distress Ink on a kraft sheet, spritzed with water and pounced the panel on the puddles
2. Added some texture paste through a Bubble stencil
3. Used Jet Black Archival ink to stamp some text from the Entomology stamp set


Next I used Jet Black Archival ink to stamp the flower images on watercolor card stock. Each flower was then fussy cut.


To colour the flowers I used a variety of Scribble Sticks - Lime, Evergreen, Olive, Cheddar, Tangerine, Ruby and Lemon - with a watercolour paint brush. The method I use is to spritz a tiny but of water on my kraft sheet and then rub the stick in the water to create a little puddle of colour that I can dip my brush into. If I want a little more concentrated colour I wet the brush and rub it right on the stick.

To assemble the card I distressed a panel of rusty red card stock and added that to my card blank and then topped it with my textured panel. Next I added my flowers, a strip of burlap and a Small Talk sticker inked with Vintage Photo DI. Finally I added a loopy bow created from Burlap String.

This bright card will likely be heading to my Niece for her birthday, which happens not long after all the bright colours have faded and fall is coming to a close, just when she might need something cheerful in these difficult times.

I hope you will join us for the challenge, which runs until 11:55 pm EDT on Tuesday, October 13th. One randomly chosen winner will receive a gift certificate to shop at The Funkie Junkie Boutique and the Design Team will choose their Top Picks with the overall winner receiving an opportunity to be a Guest Designer with us at a later date.

Supplies list:

Dina Wakley Media Stamp - Always Flowers MDR66224
Stampers Anonymous Tim Holtz Rubber Stamps - Entomology
Ranger Texture Paste Opaque Matte INK44444
Tim Holtz Distress Inks - Vintage Photo, Gathered Twigs, Wild Honey
Ranger Archival Ink Pad - Jet Black AIP31468
Dina Wakley Scribble Sticks
Stampers Anonymous Tim Holtz Layering Stencils - Bubble THS002
Burlap String
Scor Tape
Ranger Inkssentials Mini Ink Blending Tool - With 4 Blending Foams IBT40965
Tim Holtz Melange Tissue Wrap
Tim Holtz Small Talk Idea-ology Stickers

Saturday, September 19, 2020

Saturday Showcase at The Funkie Junkie Boutique Blog

Today I am presenting the Saturday Showcase feature at The Funkie Junkie Boutique Blog and I am focusing on Tim Holtz Speckled Egg.

This is one of the projects I created but to get all the details on how it came together and to see what else I came up with, check out the blog post HERE.

Wednesday, September 16, 2020

Christmas Backgrounds


Today is the beginning of the challenge at The Funkie Junkie Boutique Blog and I am the hostess for this one.  I am calling it Staying in the Background and here is how I describe it:

My challenge to you is to create your own background and use it in a shabby chic or vintage project - no pre-printed patterned paper this time. You can create the background in any number of ways and it can be simple or intricate. Using embossing folders. stencils, dies, stamps, washi tape, paints, inks or a gel press are just a few ideas. Make sure you give a brief description of how you created your background in your post.

I decided to make some more simply decorated Christmas cards for the challenge. All my cards are quite flat intentionally so I can mail them with standard letter mail postage, which is already obscene at $1.07 + 13% tax for a single stamp (they give us a break if we buy a book of 10 - 97 cents each plus 13% tax).


For this first card I used Versamark to randonly stamp snowflakes from an old stamp set over some white card stock. Then I heat embossed the snowflakes with Clear embossing powder. Once the embossing was cool, I inked over the whole panel with Stormy Sky, Tumbled Glass and Faded Jeans Distress Ink. The embossing acted as a resist but to ensure that the snowflakes popped, I took a paper towel and rubbed it over the panel.


I forgot to take a photo of the embellishment process but it was very simple. I cut some branches from some white shimmer card stock using the Holiday Greens die set. I also die cut an oval from Metallic Kraft StockJewels . The sentiment was cut for me by my husband.

To assemble the card I added a panel of the Metallic Kraft Stock to the card blank, then added the background panel followed by the embellishments.


For the next card, I made a painted background. Using one of my ratty brushes I painted crisscrosses on white card stock with Ruby, Evergreen and Ancient Acrylic Paint.


I used scraps of card stock to cut a poinsettia and branches from a die set called Festive Greens. The branches and the poinsettia centre were painted with the Ancient Acrylic Paint.


To assemble the card I added a panel of red card stock to the card blank and then adhered the painted background. Next came a little strip of green card stock that I ran through a dots embossing folder. The sentiment was painted with Ancient Acrylic Paint and added along with the poinsettia and branches.


For the final card I put some Faded Jeans, Tumbled Glass and Stormy Sky Distress Ink on my kraft sheet, added some water and dragged a piece of white card stock through it. Once it was dry I used Faded Jeans Distress Ink and a stars stencil to add some stenciling.


I cut a large snowflake from the shimmer card stock using the Flurry #3 die and split it in half.


To assemble this card I added a panel of dark blue card stock to my card blank and then added the stenciled panel on top. The split snowflake was added to the back of a strip of card stock that I ran through a swirls embossing folder and then the sentiment was painted with white paint mized with Pearlizing Medium and added.

I would love to see your backgrounds so do join us in the challenge, which can be found HERE and runs until 11:55 pm on Tuesday, September 29th. One randomly chosen entrant will win a gift certificate to shop at The Funkie Junkie Boutique and with all the new products arriving, that should be super fun. The Design Team will choose their top picks and the overall winner will receive an opportunity to Guest Design at a future date.

Supplies list:

Tim Holtz Distress Inks - Faded Jeans, Tumbled Glass, Stormy Sky
Tim Holtz Thinlets Dies - Flurry #3, Holiday Greens, Festive Greens
Dina Wakley Acrylic Paints - Ruby, Evergreen, Ancient
Tim Holtz Idea-ology 8 x 8 Metallic Jewels Kraft Stock
Stampers Anonymous Tim Holtz Layering Stencil - Falling Stars THS115
VersaMark Watermark Ink Stamp Pad
Ranger Inkssentials Mini Ink Blending Tool - With 4 Blending Foams IBT40965
Scor Tape
Recollections Clear Embossing Powder
Cuttlebug Embossing Folders - D'Vine Swirls, Swiss Dots
Spellbinders Petite Ovals Large Die Set

Wednesday, September 2, 2020

Bird on a Branch


The new challenge at The Funkie Junkie Boutique Blog starts today and Suzz, our hostess is calling it Birds. Here is how she describes it:

For this Challenge I want you to be inspired by our flying friends. You can take the challenge literally and have images or die cuts of birds on your art, you can be inspired by the words describing birds or even showcase their homes. Make sure to share with us how you were inspired by the birds.

I decided to take the challenge literally and show a bird on my project. I was inspired by a canvas I saw online with a bird and a branch but then went off in my own direction.

I started by covering an 8 x 10" canvas board with White Gesso. I used some Wild Honeysuckle Coral Stardust Ink Spray and some Roast Chestnut IZink Pigment Ink like watercolours by mixing them in small puddles of water on my kraft sheet and then painting them onto the canvas. I did a layer of the Coral first, the the Roast Chestnut and then more Coral. Note: I forgot to take a photo at the end of this step but I am sure you can see the colour below the stenciling.


Next I added some stenciling with a Mini Ledger Stencil and some Coffee Archival Ink. I also used a Criss-Cross stencil I designed myself and my husband cut to add some texture with Textue Paste.


My husband designed and cut the branch with leaves from chipboard for me and I gave it a coat of White Gesso. I used my finger to add some roughness on the wood with texture paste and then painted it with Melted Chocolate Acrylic Paint followed by some Umber Acrylic Paint. The leaves were painted with Aloe Acrylic Paint.

The flowers were punched from a paper collection called Garden Goddess, the edges inked with Gathered Twigs Distress Ink and some tiny dollar store gems were added to the centres.


The little bird is cut from some fine corrugated cardboard that I had in my stash. I have a large stencil of different birds and I just traced him and then cut him out. Next I have him a coat of White Gesso followed by some Sedona Acrylic Paint and then a dry brushing of more Gesso. Once the paint was dry I rubbed some Rose Quartz wax paste over the raised areas and then added a gem for an eye.


The clock was cut from a cracker box by my husband and then I coated it with Umber Acrylic Paint, a sprinkling of playground sand and finally a coat of Mod Podge.


I ran a strip of Rose Gold Metallics Kraft Stock through an embossing folder called Paisley Palooza to create a textured strip for the background. I also die cut a scalloped circle from card stock, ran it through a Bubble embossing folder, inked the edges with Gathered Twigs DI and dry brushed White Gesso onto the highlights. Sorry I forgot to photograph this step - brain turning to mush being home for so long.

I die cut a circle from cracker box material, coated it with White Gesso and then inked it with Dried Marigold Distress Ink. I used the Bubble stencil and some Coffee Archival Ink to add some markings and then covered the circle with some Clear Rock Candy Distress Crackle Paste. The Crackle Paste was really thick (a.k.a. pretty well dead) so it didn't really crack well.


To assemble the canvas, I put the metallic strip down first, followed by the scalloped circle, the clock and the stenciled circle. The branch was added next followed by the bird. Finally I added some iridescent sequins and a little Small Talk sticker that I inked with Gathered Twigs.

I hope you will join us for the challenge, which runs until 11:55 pm EDT on Tuesday, September 15th. One randomly chosen winner will receive a gift certificate to shop at The Funkie Junkie Boutique and the Design Team will choose their Top 4 Picks with the overall winner receiving an opportunity to be a Guest Designer at a future date.

Supplies list:

Dina Wakley Media Mediums - White Gesso MDM41689
Seth Apter Izink Pigment - Roast Chestnut 80638
Dina Wakley Acrylic Paint - Aloe, Umber, Sedona
Dylusions Paints, Melted Chocolate DYP46011
Ranger Archival Ink Pad - Coffee AIP31451
Tim Holtz Distress Ink Pads - Gathered Twigs, Dried Marigold
Stampers Anonymous Tim Holtz Layering Stencils - Bubble THS002
Tim Holtz Idea-ology 8 x 8 Metallic 2 Kraft Stock - Rose Gold & Copper TH93780
Ranger Texture Paste Opaque Matte INK44444
Scor Tape
Ranger Inkssentials Mini Ink Blending Tool - With 4 Blending Foams IBT40965
Tim Holtz Distress Crackle Paint - Clear Rock Candy
Tim Holtz Idea-ology Small Talk Stickers
Graphic 45 Garden Goddess 12" x 12" Paper
Lindy's Wild Honeysuckle Coral Stardust Ink Spray
Treasure Gold Rose Quartz Wax Paste
Mini Ledger & Criss Cross Stencils
Circle and Scalloped Circle Dies
Mini Flower Punch
Micro Gems
Chipboard Branch with Leaves & Chipboard Clock Iridescent Sequins